5 Reasons to CHANGE Your Mastering Approach
Your Clients Aren’t Happy or Are Asking for More Revisions than Usual
Your Master Doesn't Hold up to Your Reference
No Matter What, You Keep Hearing Distortion
The Streaming Service You Use Normalizes Audio
You’re Using New Gear
5 Reasons to CHANGE Your Mastering Approach in Detail
Change can be difficult. It forces us to let go of the habits we’ve formed and embrace something we may not yet fully understand.
But, change is, more often than not, for the best.
This may all seem a bit lofty for an article about mastering music, but it’s true. If you’ve mastered music for a few years you know how difficult it can be to change your tried and true signal chain.
Ultimately, whatever change you make to your mastering approach will be a risk - it isn’t impossible for this change to make your sound worse off overall.
However, adapting to new gear, responding to client expectations, remedying persistent issues, or accommodating new and emerging technology are all reasons to change your mastering approach.
Let’s cover 5 reasons to change your mastering approach, and detail how you can make that change. We’ll cover why it’s important to alter your approach and how this can benefit the quality of your masters in the long run.
If you’re an artist or an engineer, and you have a mix that you need mastered, send it to us here:
We’ll master it for you and send you a free mastered sample to review.
Your Clients Aren’t Happy or Are Asking for More Revisions than Usual
Keeping up with client expectations isn’t always easy. Despite the challenge, a particular and picky client is a good thing.
It forces us to learn new techniques and work in a way we’re not used to, ultimately growing and discovering new ways of mastering music.
One of the most common ways that a client can ask for the boundaries of mastering to be pushed is by requesting a louder master.
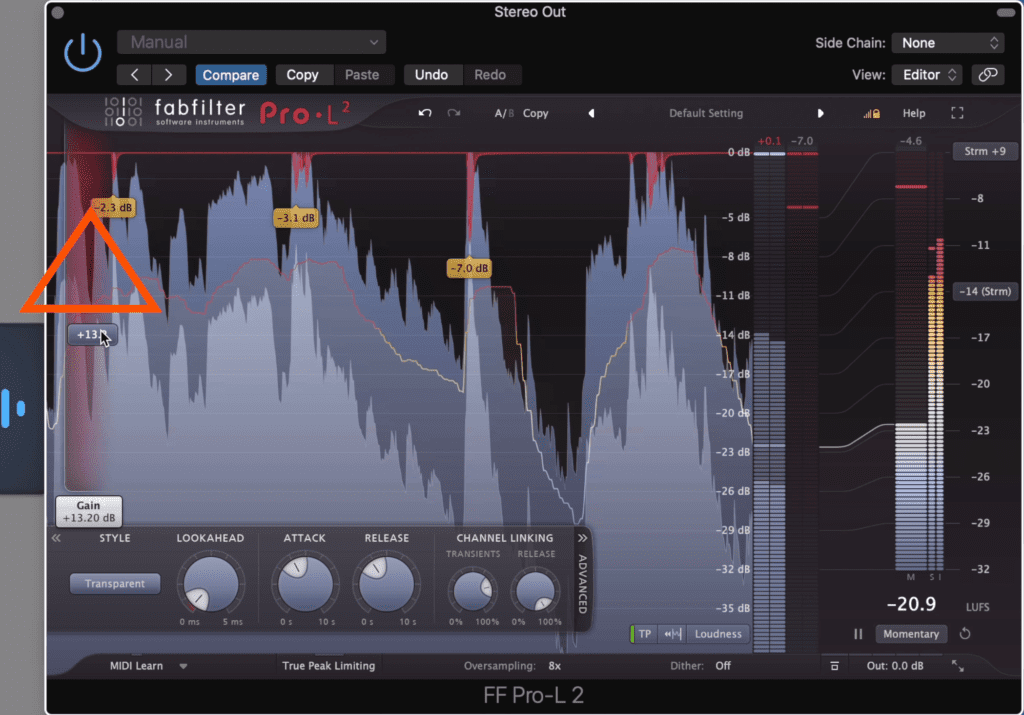
It isn't uncommon for an artist to ask for a louder master. This can be challenging, but there are some ways to accommodate the request.
If you’ve ever been tasked with making an increasingly loud master, you know that it isn’t a simple process. Balancing dynamics and an undistorted sound with louder and louder levels is a learning experience, to say the least.
If you find yourself in this position, and you’re not sure how to accommodate this request, here are some techniques you can use.
First: Use oversampling and if that doesn't work, try true peak detection. Oversampling will reduce aliasing distortion and increase the accuracy with which the signal is processed.
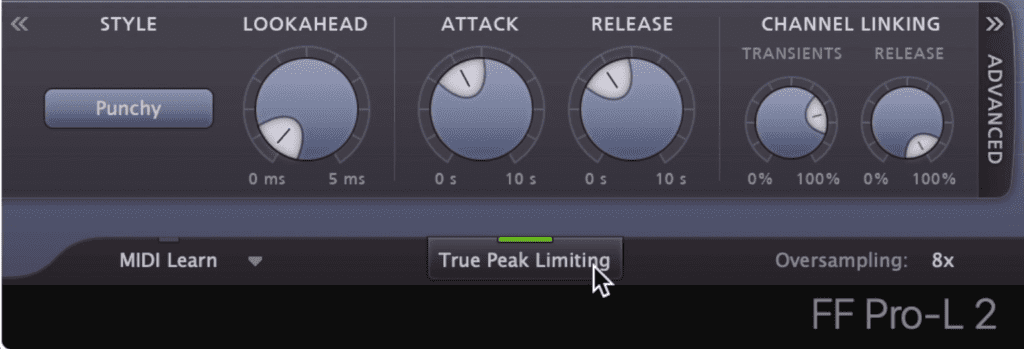
Use true peak detection and oversampling to reduce distortion.
This means you can make the master louder and avoid clipping distortion. If this doesn’t work you can enable true-peak detection. This will let you push the signal louder, but reduce distortion.
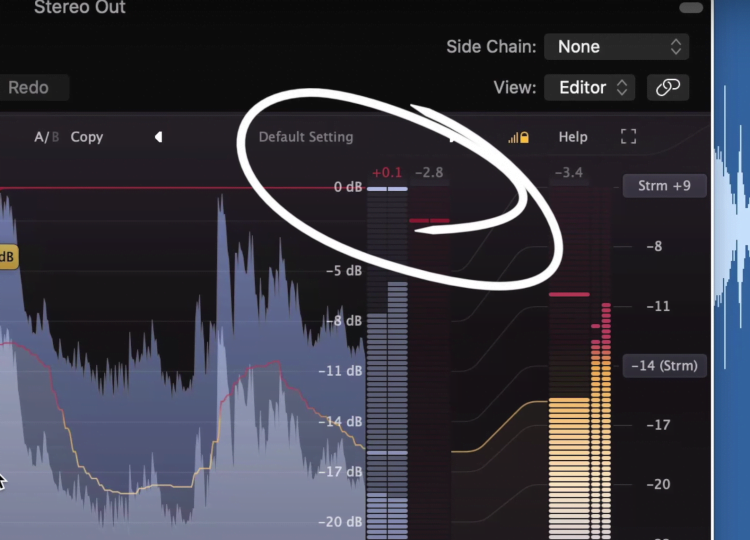
Notice that in this instance, oversampling was not enough to prevent clipping distortion.
Second: Use a clipper before limiting. A clipper alters the shape of clipping distortion from hard-knee to soft-knee. As a result, the transients retain some of their impact and the overall signal sounds louder.
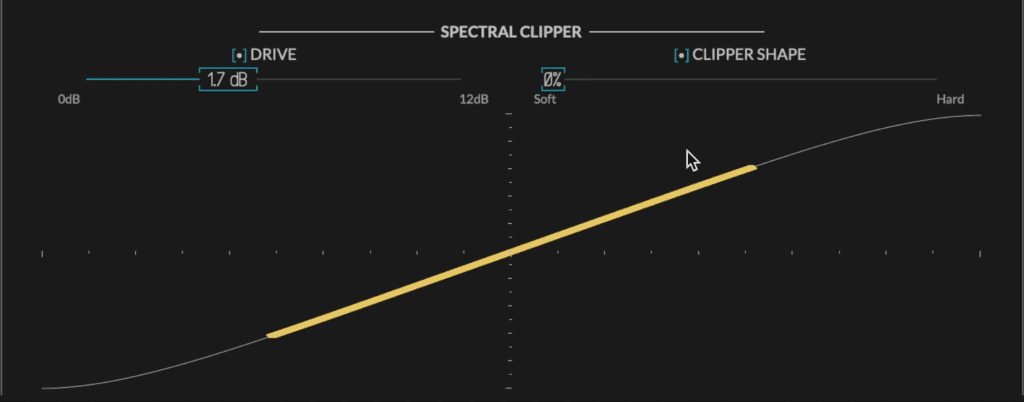
A clipper can help with pushing a signal into louder territory.
If you pair this with transient expansion, you can achieve a louder sound without resorting to pushing a limiter.
If you want to learn more about making a loud master without distortion, here's a video on that topic:
Your Master Doesn't Hold up to Your Reference
This situation is always frustrating. You’ve finished a master and think it sounds great until you compare it with one of a similar genre.
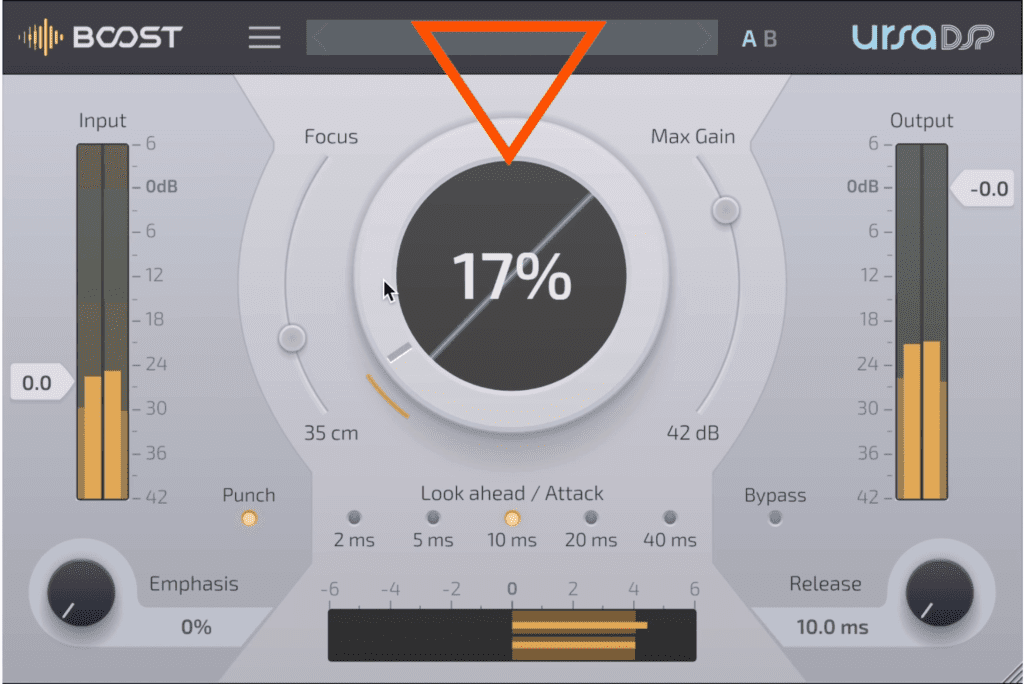
Maximization and upward compression is a good alternative to limiting.
Only then do you realize that your master sounds flat and lifeless in comparison, and still isn’t as loud or impressive.
If this is happening to you on a regular basis, there’s something about your approach or chain that you need to change.
Although this solution won’t work in every situation, one thing I’ve noticed that can help get a master closer to a reference is by focusing on maximization and upward compression, rather than limiting and downward compression.
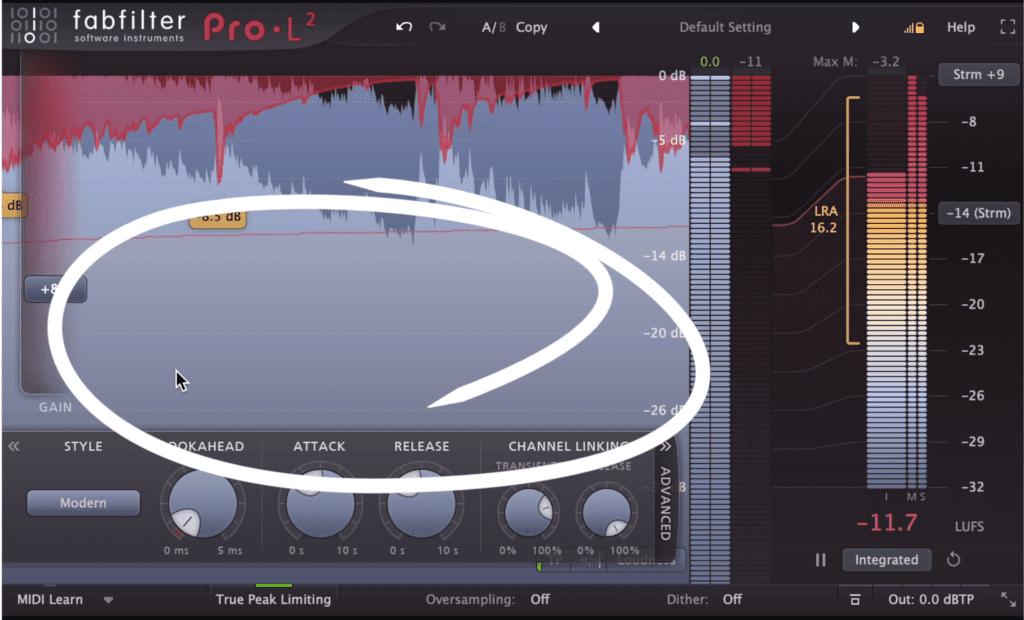
Low level aspects of the signal need to be push forward for a track to sound powerful.
Too often we rely on limiters to handle all the work for us. We expect to be able to push the signal into the limiter, and everything will get pushed up as a result,but the low-level signal which holds all the detail isn’t getting as much power as it needs.
By utilizing upward compression can maximization, we can push quieter aspects of a mastering forward without truncating our dynamics or transients. Then we can use limiting afterward to push increase the level.
Try this if your masters are lacking the power and impact of your references.
No Matter What, You Keep Hearing Distortion
Even if we don’t see clipping we might still hear distortion. This can be maddening if you think you covered all of your bases and can’t figure out which distortion is still occurring.
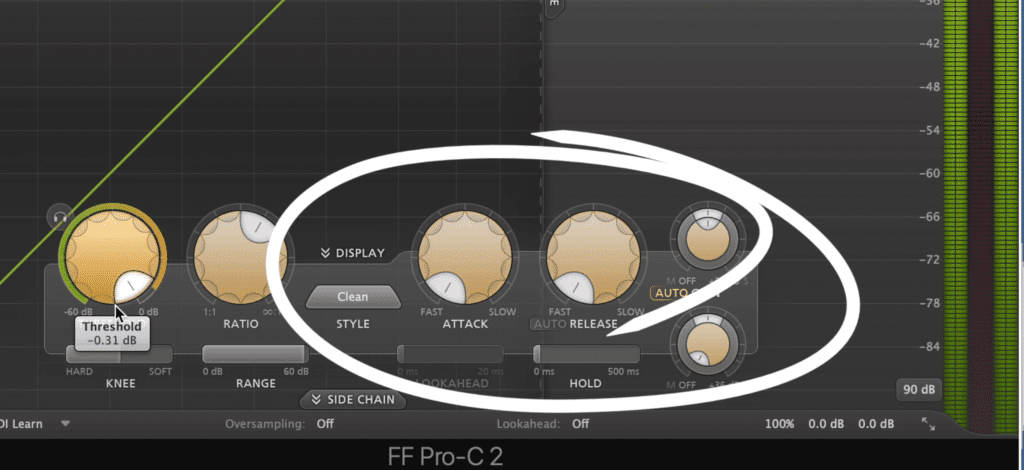
A fast attack and fast release can cause distortion.
If this is happening to you, and you don’t see any clipping happening on your meters or between your plugins, the issue might be your compression times.
A fast attack, and more importantly a fast release, will both cause distortion. If the release time is shorter than 30ms, the low frequencies of the signal will distort unless the limiter or compressor has been coded to look for and avoid this distortion.
Similarly, if the attack of a compressor is too short it can cut into a transient, causing a mild clip that can build up with addition subsequent amplification of the signal.
For more information on compression, check out this video:
The Streaming Service You Use Normalizes Audio
A decade ago, masters could be made incredibly loud - and they still can, but with one major caveat.
Odds are, the master that you worked so hard to make incredibly loud, will be turned down by loudness normalization when it gets streamed.
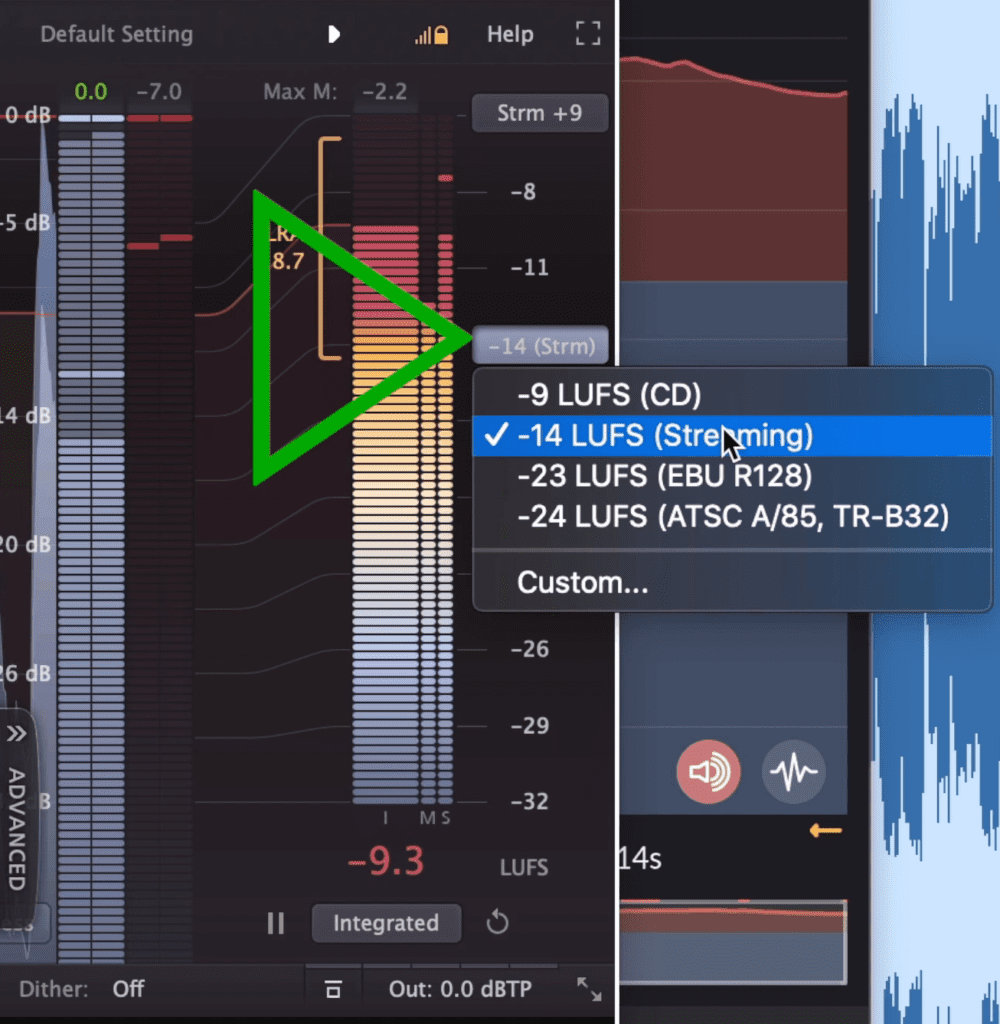
Streaming services normalize audio to roughly -14 LUFS. This disincentivizes people from mastering to louder levels.
This begs the question, what’s the point in making it loud? Although there is still some benefit of having a loud master, the same benefits can be achieved by using low-level or upward compression, saturation, and maximization, without having to resort to heavy limiting.
If you find that you’re still making your masters -7 LUFS, ask yourself if it’s worth it. Odds are it really isn’t.
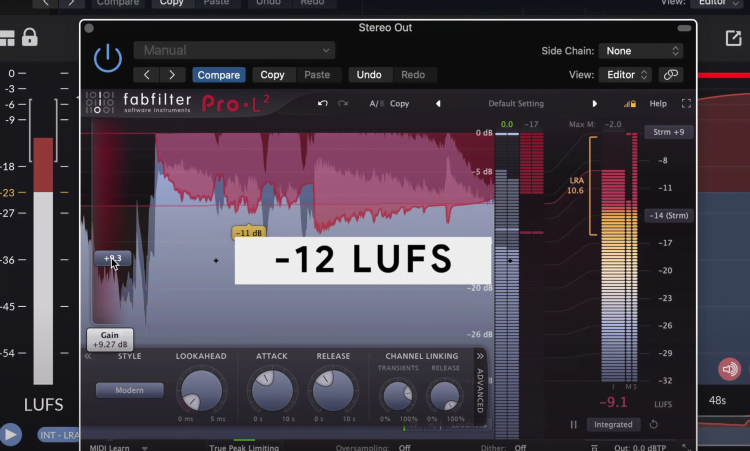
We'll listen to a -7 LUFS track, and a -12 LUFS post normalization (in the video embedded at the top) to see if we notice a difference.
Let’s listen to 2 mastering examples - one that was mastered to -7 LUFS, and one mastered to -12 LUFS but with upward compression and maximization.
Since YouTube will normalize the audio to -13 LUFS, we’ll be able to compare the two-post normalization.
You’re Using New Gear
New gear means change. If you’re using a new plugin or piece of hardware, it doesn't make much sense to shape it and limit it into the same form of processing that you were using before.
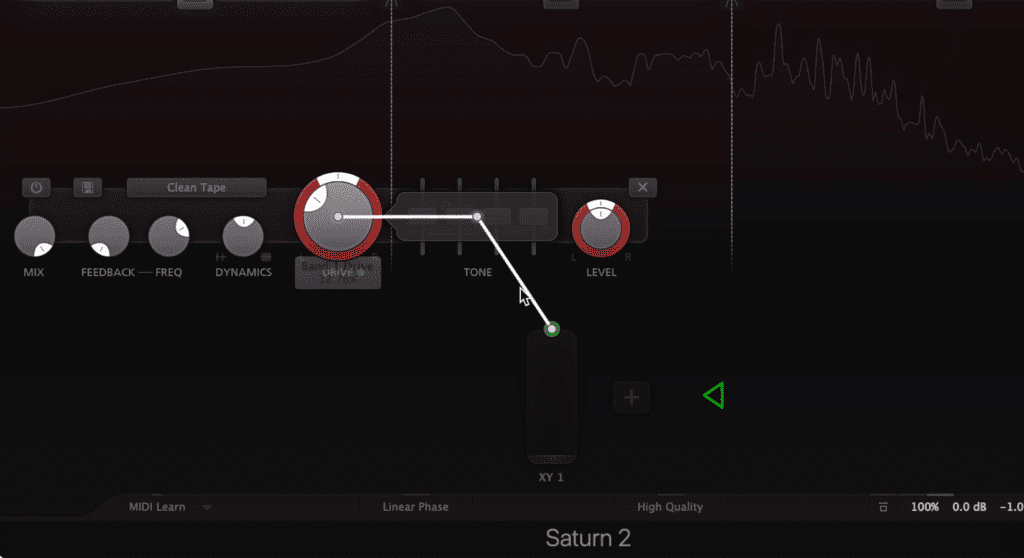
Shown here is the advanced filter section of the Saturn 2.
If the plugin you’re using has new functionality, take the time to understand how that functionality can improve what you’re working on.
For example, I just began to use Elevate from Newfangled Audio for these videos and tutorials thanks to the wonderful viewers and commenters on our channel that suggested it.
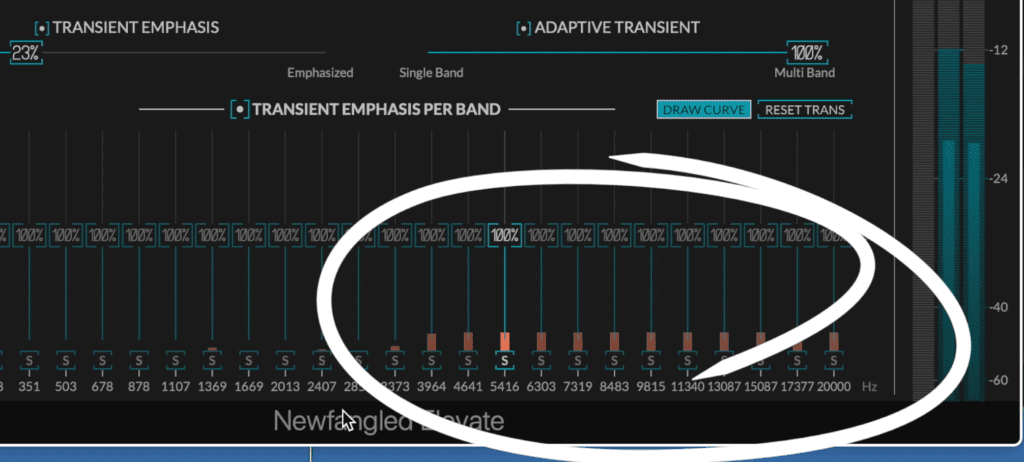
Shown here is the transient shaping section of the Elevate limiter.
Instead of ignoring the transient shaping section or the clipper, I spent a little time reading the manual and experimenting with it to see how it can improve masters.
What’s great is that these features really bring some masters into new territory sonically. So if you’re using new gear, be sure to embrace what that gear has to offer, and change your mastering approach accordingly.
Conclusion
Making a change can be harder than anticipated, but new never hesitate to try something new when producing and mastering music.
Odds are, if you experiment with new techniques and think critically about how you can improve the sound of your masters, you’ll come up with something great.
If you make any of the changes that we suggested above, let us know in the comments section of one of our videos, we’d love to hear from you.
If you’re an artist or an engineer, and you have a mix that you need mastered, send it to us here:
We’ll master it for you and send you a free mastered sample to review.


