How to Master Loud and Clear Without Sounding Harsh
Quick Answer
Mastering music loudly and clearly can be accomplished by utilizing the correct limiting settings and by taking certain precautions throughout the mastering process. When mastering loudly you’ll want to use lookahead and oversampling, low-level compression and transient shaping, and set a release time of roughly 50 milliseconds during limiting.
How to Master Loud and Clear Without Sounding Harsh in Detail
Mastering a track loudly often means losing clarity - but there are ways of achieving a loud master without sacrificing fidelity and detail.
If you’re mastering Pop, Rap, EDM, or Metal, you’ll need to find ways of reaching a higher LUFS without creating unwanted distortion , losing transient detail, or gluing the sound together in an unpleasant or unmusical way.
We’ll cover some techniques that you can use to make louder masters that retail their clarity. We’ll also discuss particular topics and concepts that when understood, will help you think of new and related ways to retain clarity in your master when mastering loudly.
We’ll also provide some audio examples (in the video embedded above) so be sure to take a look.
If you’re are or engineer, and you’d like to hear your mix mastered, send it to us here:
We’ll master it for you and send you a free mastered sample to review.
How Lookahead and Oversampling Reduce Harshness when Mastering Loudly
Pushing the signal into a brick wall ceiling is a quick and effective way to make a master loud; however, it’s also a quick way to create inter-sample peaking distortion and subsequent aliasing distortion.
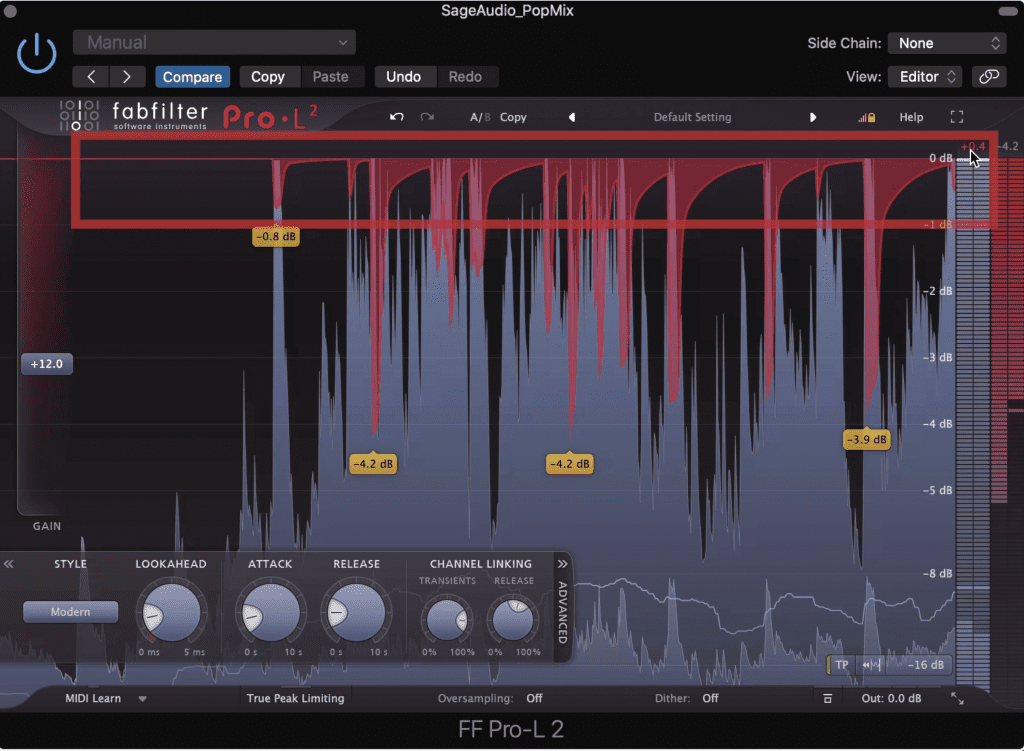
Inter-sample peaking distortion is common when mastering loudly.
Let’s start by looking at inter-sampling peaking. If you push a limiter hard enough, you may still not see any distortion on your channel meters; however, the level may be so consistently loud that it’s going above the maximum amplitude set by the bit-depth and sampling rate.
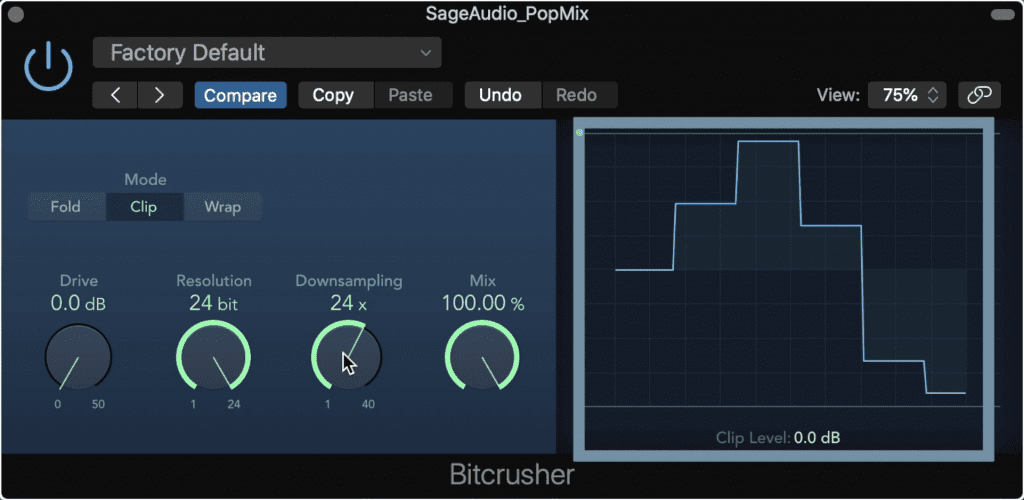
Shown here is how lower sampling rates cause less accurate quantization. The opposite is true for higher sampling rates.
Although we typically think of bit-depth as determining the amplitude of a quantized signal, the sampling rate can also help or hinder the accuracy with which bits of the signal are encoded. A lower sampling rate will result in less accurate encoding and subsequent distortion.
With that in mind, if we increase the oversampling of our limiter, we can reduce inter-sample distortion. Additionally, if we increase the lookahead of the limiter, we give it more time to process the signal, resulting in less unwanted clipping.
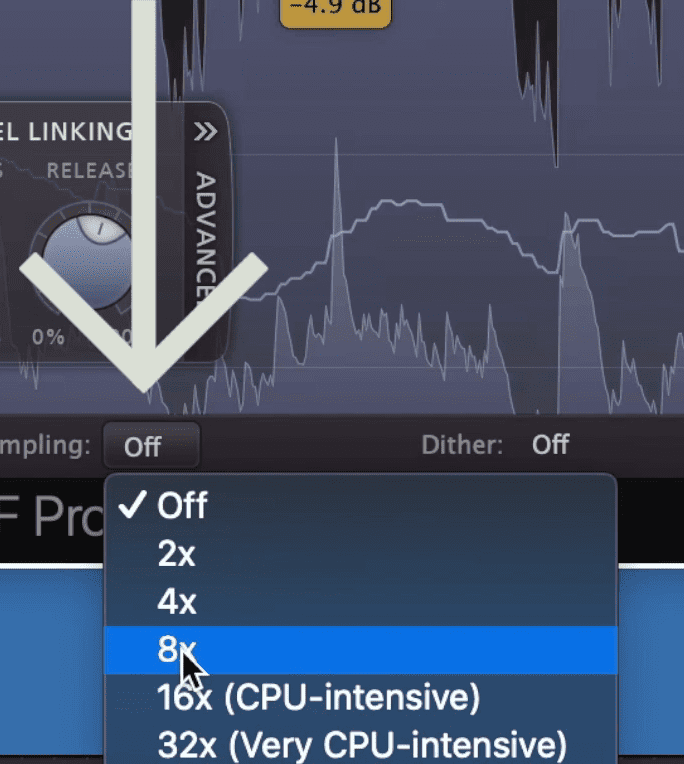
Use a higher sampling rate on your limiter to help avoid clipping distortion.
If these don’t do the trick, try true peak limiting, but this might reduce the impact of your transients.
Another thing to consider is aliasing distortion. If the sample rate of our session is low enough, say 44.1kHz, then clipping distortion and other forms of distortion may exceed the frequency limitations of what our sampling rate allows for.
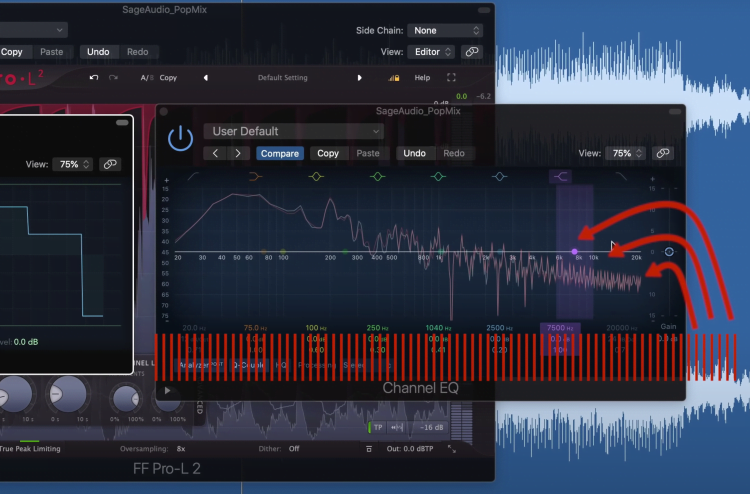
Frequencies that go above the max frequency set by the sampling rate, are reflected back down the as distortion.
When this happens the signal that exceeds this limit will be reflected down the frequency spectrum as aliasing distortion, which almost always has an unpleasant and harsh sound. Introducing oversampling solve this problem as well, allowing you to push the signal a little harder without unwanted harshness.
If you'd like to learn more about the limiter we used for this post, take a look at this video:
How Low-Level Compression and Transient Shaping Cause Perceived Loudness and Clarity
It’s pretty common for mastering engineers to use downward compression in order to eventually make a signal louder. The idea being, if dynamics are controlled, then the signal’s overall amplitude can be increased without clipping.
But, there might be a better way to achieve a louder master than this method.
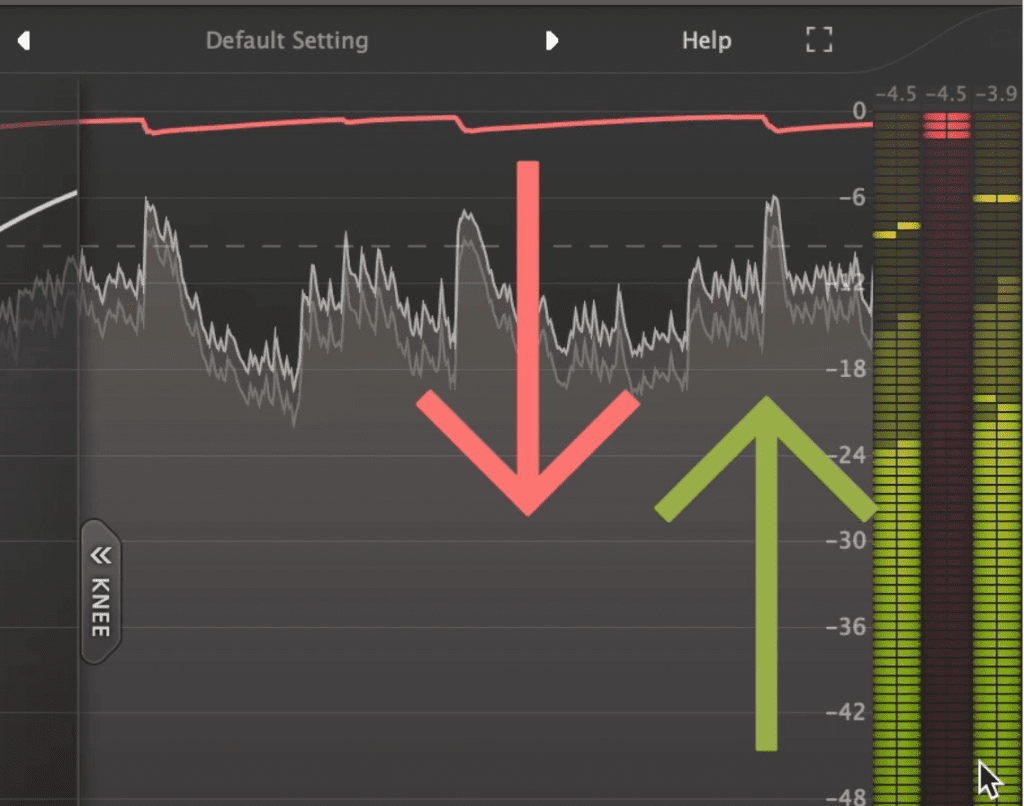
The idea with downward compression is to control dynamics so that the overall signal can be made louder.
If you use low-level compression or upward compression, you can take quieter aspects of the signal, capture them and amplify them, all while keeping the peaks of the signal at the same level.
This means that the detail of the signal is pushed forward, making the overall signal sound louder, but, without the artifacts created from downward compression.
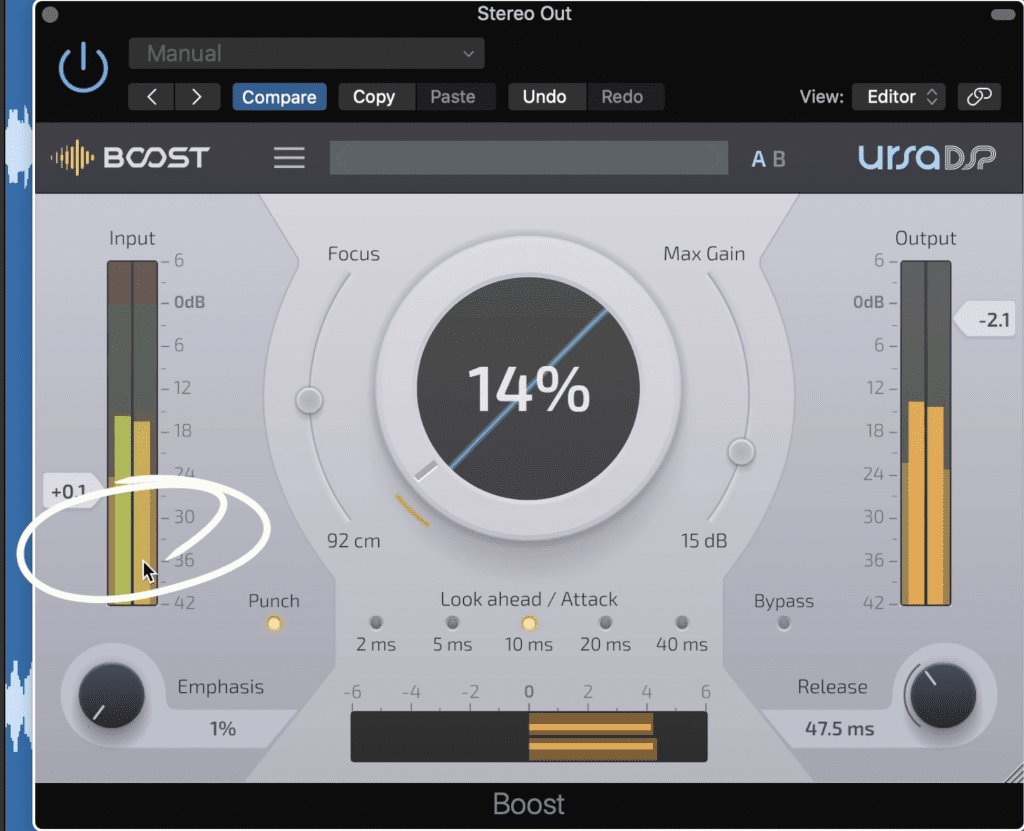
Low-level compression amplifies quieter aspects of the signal.
After introducing low-level compression, we have a less dynamic mix or master, but one without truncated transients or peaks.
We can make these transients even more distinct by using transient shaping. Transient shaping is like a special form of expansion, in which only the peaks of the signal are captured and expanded.
This makes it perfect for increasing the clarity of snares, kicks, and other instruments with a quick transient.
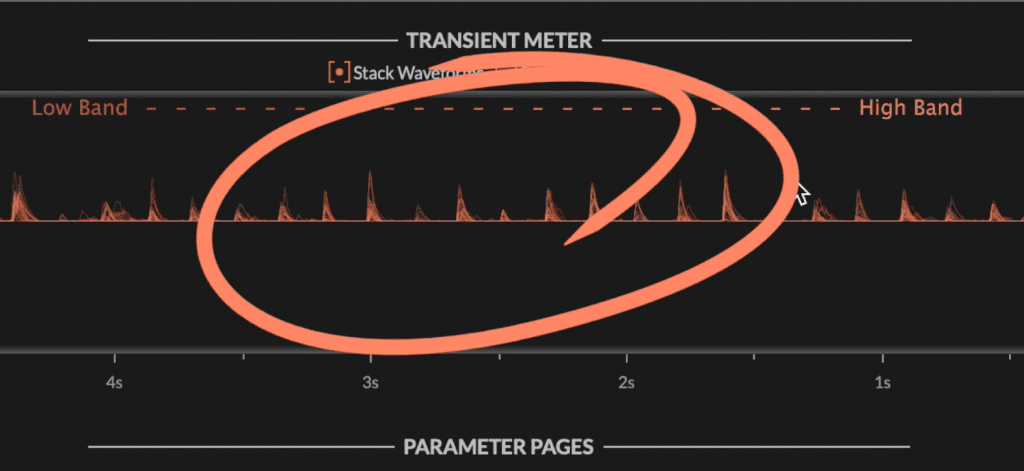
Transient shaping makes transients detailed and prominent in a master.
By introducing transient shaping after low-level compression we make the signal loud, but, with its transient detail intact.
How Setting the Right Limiter Release is Crucial for Reducing Harshness and Retaining Detail
When we think of frequencies, we often think of them as to how they sound - which makes perfect sense. But, we also need to conceptualize frequencies as things that take up physical space and travel through time.
Now, I’ll get to the part about compression and release times, but let’s understand this concept first.
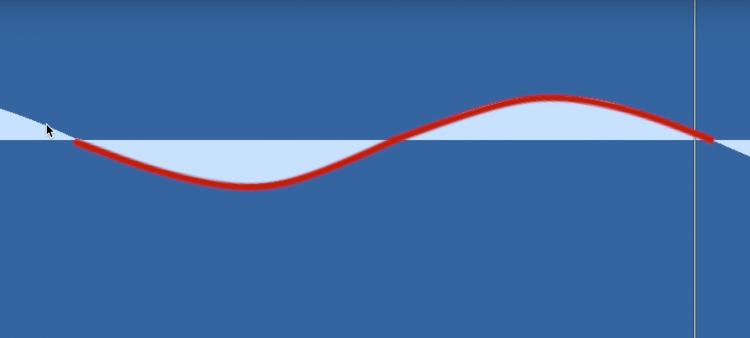
Shown is a complete oscillation.
By definition, a frequency is a particular wavelength. More specifically, a frequency is a wavelength as it relates to 1 second of time.
For example, 1Hz is a sound wave with 1 complete oscillation per 1 second of time. 20Hz is a sound wave with 20 complete oscillations per 1 second of time, and so on.
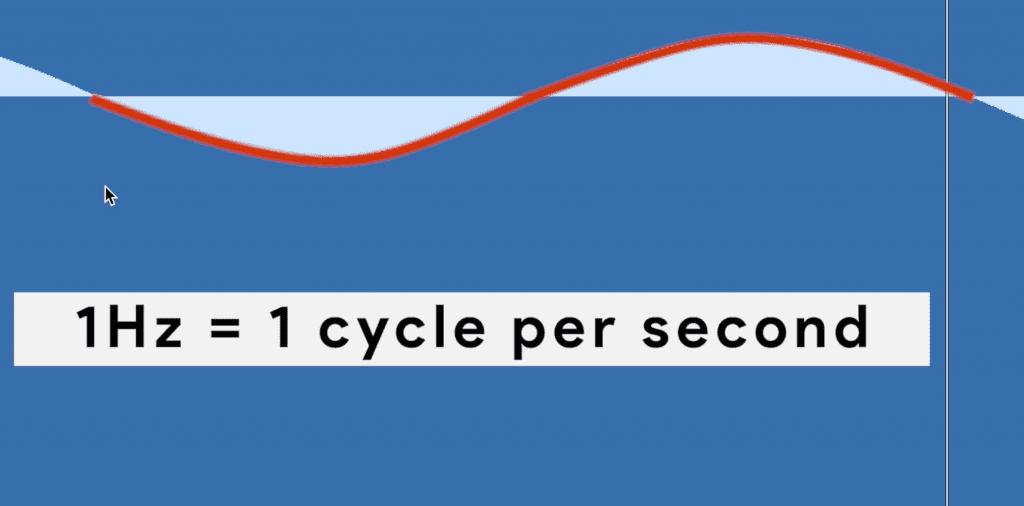
1Hz is 1 oscillation or cycle per second.
This means that each frequency takes a specific amount of time to travel. So let’s look again at a 20Hz wave.
If a 20Hz wave is 20 oscillations in 1 second, how long is each oscillation?
1 / 20 = 0.05 seconds.
If we multiply that number by 1000, we get that time in milliseconds. So it takes a 20Hz wave 50ms to oscillate fully.
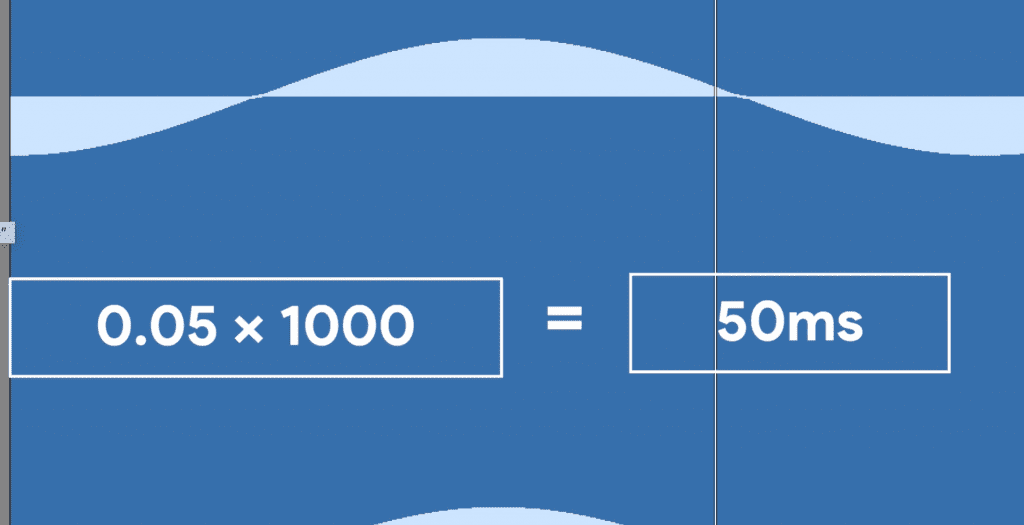
After dividing 1 second by 20Hz, we multiply that time by 1000 to get the time in milliseconds.
The higher the frequency or pitch the quicker it travels, so a 200Hz wave completes one oscillation in 5ms.
So what does this have to do with the release time of a limiter?
Well, if we set the release time of a limiter too short, it can drastically alter the amplitude of our signal in the middle of a waveform, in turn causing distortion.
So if our release time is 10ms, but we have 20Hz waves in our master, odds are some of those waves will get distorted.
With that in mind, we need to set a longer release time than 10ms. However, if we set our release time too long then the limiter will continue to attenuate the signal for too significant of an amount of time.
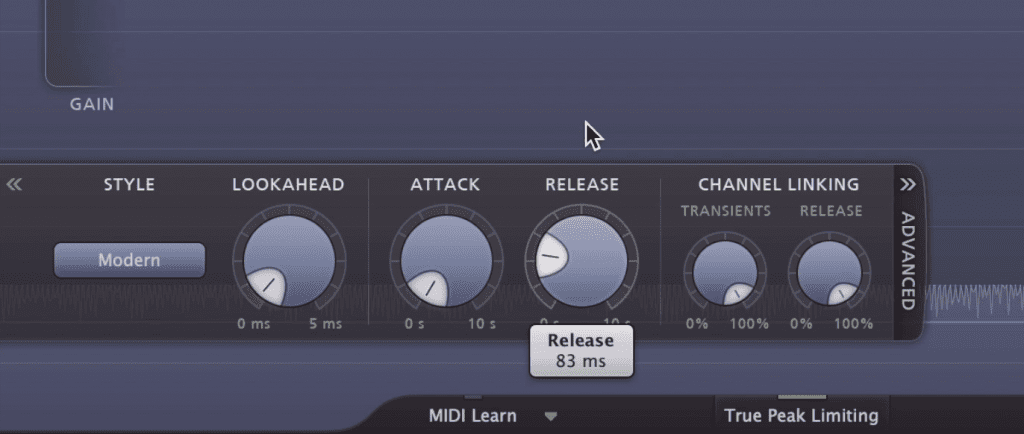
The release time should be longer than 50ms.
When this happens, transients and peaks that are unrelated to the peak that triggered the limiter will be compressed, resulting in a lack of definition and detail.
So, if we set our release time to at least 50ms, we know that every frequency that’s within the range of human hearing will be able to pass without being distorted.
Lastly, this same concept applies to attack times, but, if you see an Attack function on a limiter, odds are it’s the amount of time before the Release begins - which is a little confusing and a different name for this probably would have been a good idea.
For more information on mastering techniques, take a look at this video:
Conclusion
Making a master loud and clear without harshness or unwanted high harmonic order distortion can be a challenge. Fortunately, there are ways around some of the limitations of limiters and downward compressors.
If you’re using a limiter, be sure to use oversampling and a small to moderate look-ahead time - this will reduce distortion. Also, use a release of at least 50 milliseconds to avoid distortion low-frequencies.
Lastly, try a combination of upward compression and transient shaping. The low-level compression will increase loudness, and transient shaping will increase the detail of the master.
If you’re are or engineer, and you’d like to hear your mix mastered, send it to us here:
We’ll master it for you and send you a free mastered sample to review.


