How to Prepare Your Mix for Mastering
To get the best sounding master, it is important to submit a high resolution file as a low-level dynamic mix without any processing on the master bus. This will allow your mastering engineer to better sculpt the dynamic content and give you the best sound possible for the final master. Let’s take a look at the ideal waveform as well as some common mistakes that can easily be avoided in the submission process.
How to View Your Waveform
After you’ve exported your final mix as a stereo .wav or .aiff file, you can create a new session in your DAW and import the stereo file. This will allow you to take a look at your file to make sure you’ve created the proper file that is ready to submit for mastering. Before you finalize your mix, keep in mind that it’s best to record and mix at low levels to avoid clipping and to help ensure you have a dynamic mix.
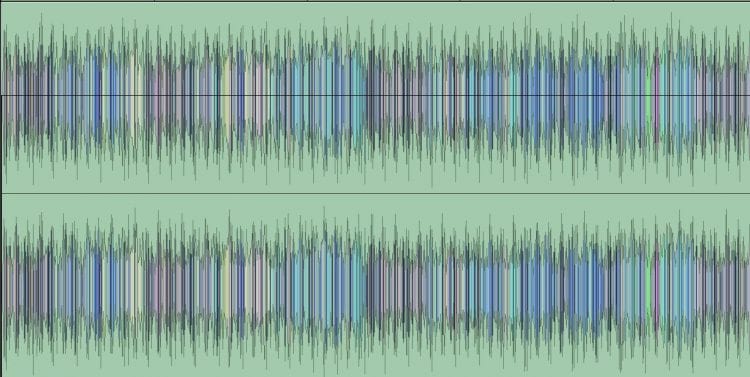
Here is an example of a mix that is ideal for mastering. Notice the transients are still intact, and as much of the dynamic range is utilized as possible by allowing the loudest part of the song to peak at the maximum of -3dB. By leaving this headroom you’ll also avoid distortion that can be caused from clipping.
Primary Mix Issues
- Over-Compression
- Over-Compression & Limiting
- Too Low of a Level
- Low Resolution File
- Mono Mix
Over-Compressed Mix
It’s ok to add compression to the individual tracks in your mix, however, you should avoid adding compression to the master bus. This dynamic processing will'smash' the dynamic content in your mix and can create a waveform similar to this:
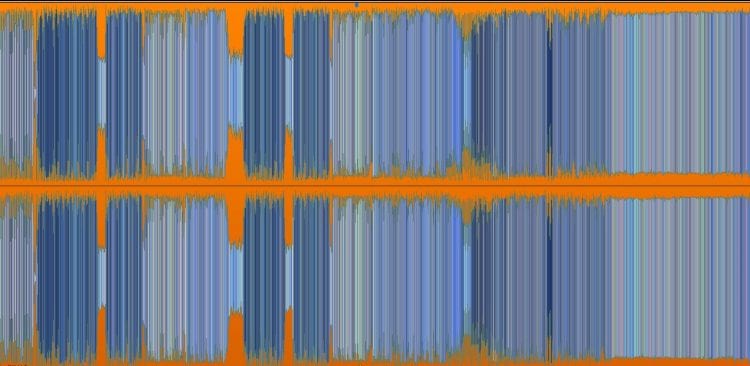
As you can see, this mix is at a uniform level which tends to reduce the emotional impact of certain parts being louder than others. Once this mix is submitted for mastering, more compression is applied to create a competitive level, which further diminishes any variation in the levels of specific sections throughout the song.
Over-Compressed/Limited Mix
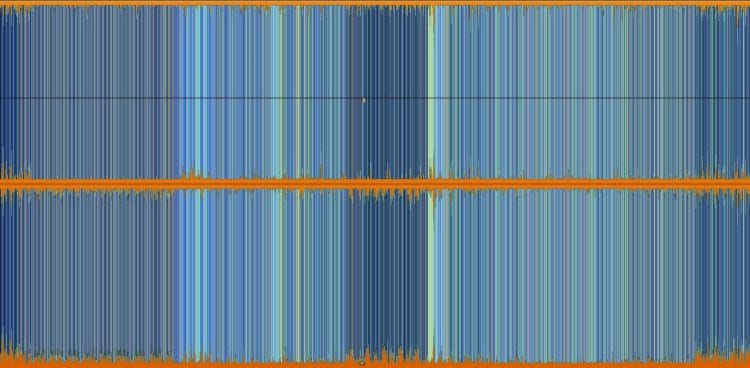
Compression and Limiting applied to the master-bus will reduce the dynamic content even more so than only adding compression. In this case, the transients are completely chopped-off, and the mix will be difficult for your masteringengineer to work with. Other than balancing the Eq, there’s not much room for improvement if a mix is over-compressed and limited. It’s better to take advantage of top-of-the-line gear used by an engineer in an acoustically treated room, as opposed to trying to achieve loudness in the mixing stage. Here’s an example of a mix that has compression and limiting applied to the master bus.
Overall Level is Too Low
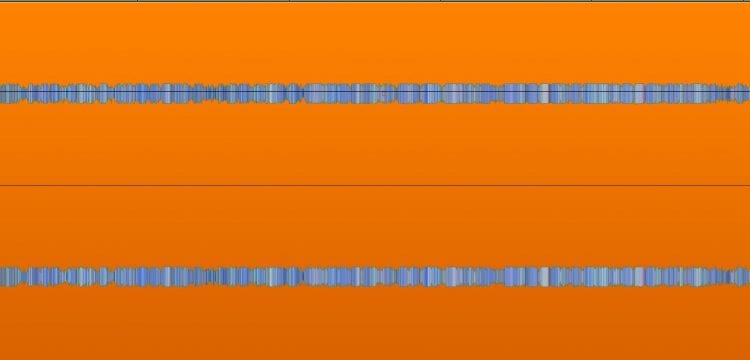
To correct the issue of a song being over-compressed and limited, a common mistake is to simply lower the level on the master fader. Although this reduces the overall level and the song may peak at -3dB, the songs transients can still be cut-off by the processing on the master-bus. In addition to this, the full dynamic range isn’t utilized and unwanted noise can be revealed after mastering.
How to Properly Reduce the Level of a Mix
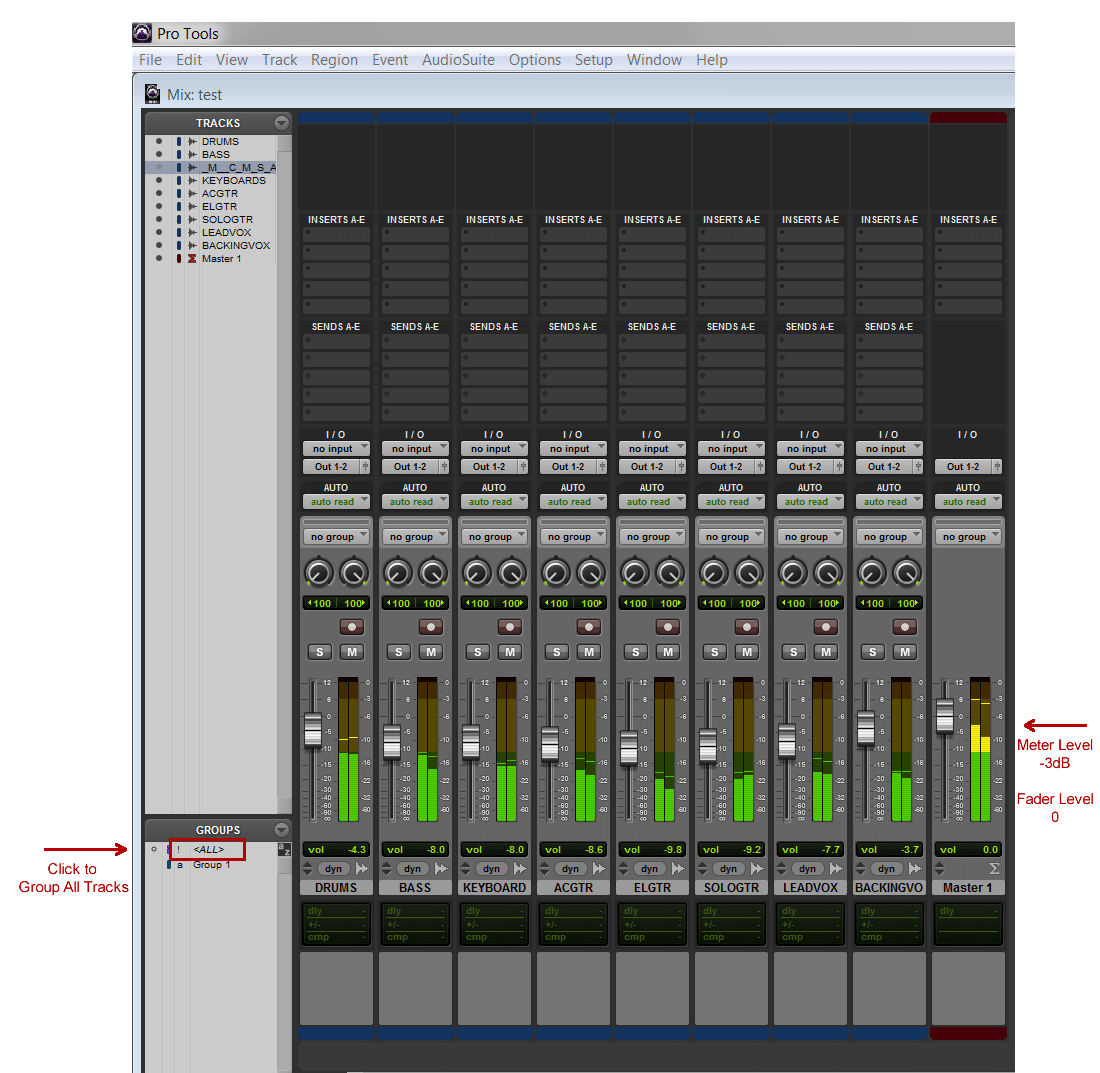
: First, you’ll need to remove any processing (compression/limiting) from the master-bus. Then, lower each of the individual tracks an equal amount while leaving the master fader at 0dB (Commonly referred to as 'unity').
An easy way to lower the level of each track while retaining the sound of your mix is by grouping the tracks together in your DAW. Here’s an example of how to do thisin ProTools. Please note – after you’ve grouped the tracks and reduced the levels so that the song peaks at -3dB on the master-meter, be sure to ungroup the tracks and raise the level of the master fader back up to 0dB (unity).
Low Resolution File
One of the easiest ways to help ensure a quality master is to export high resolution files. It’s best to submit 24bit/44.1kHz .wav or .aiff files. The goal is to create a file that is the same bit-depth and sample-rate that you have recorded and mixed in. This is called Native Resolution.
No up or down conversion should happen when creating the final mix file. For example, if the Native Resolution is 24bit/44.1kHz, then you should create a file for mastering that is in the same resolution; 24bit 44.1kHz. Keep in mind, no quality is gained from up-converting an Mp3 to a 24bit .wav file, so be sure to record and mix in 24bit so you can export a high resolution file from your session.
Files to avoid submitting for mastering:
- mp3
- .wma
- .m4a
- .aac
Mono vs. Stereo Files
You should submit a stereo mix of your song for mastering. This will provide a more full and natural sound when compared to submitting a mono file. Here’s an example of a mono file.
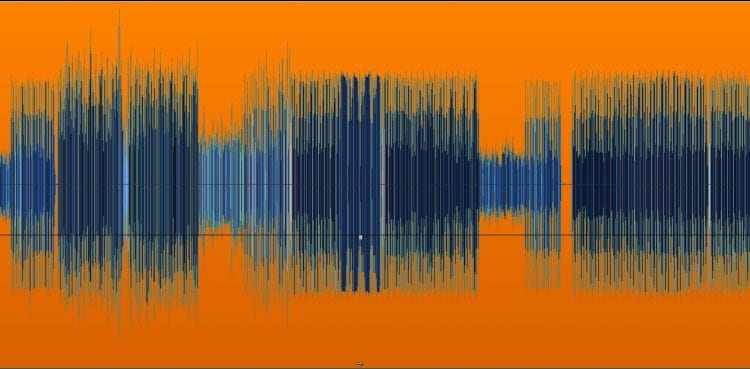
When you export/bounce the song from your session, be sure to select ‘Stereo' or 'Stereo Interleaved’ from the export options. You may also notice ‘Multiple Mono’ in the export options. Multiple mono will create a Left and Right file of your song, but there is no added quality by using this export setting. During the mastering process, both of the files will be combined to create a stereo version.
Best Mixes for Mastering
- 24bit/44.1kHz
- .wav or .aiff files
- No Compression/Limiting on Master Bus
- Loudest Peak Between -3dB and -6dB
- Low-Level and Dynamic
- Stereo Files


