What is Stem Mastering?
Stereo mastering is the typical next step for most mixing projects. But on occasion, greater control is needed by the mastering engineer.
Although a fair amount can be accomplished during a stereo mastering session, having the stems of a project offers possibilities that simply are not available during a stereo mastering session.

Although mixing shares some similarities with Stem Mastering, the two processes are different.
Stem mastering is the process of mastering multiple stems, each stem being a complete export of a certain instrument group and its relative effects. Stem mastering can be interpreted as a combination of both mixing and mastering, one that gives the mastering engineer more control and processing options.
Preparing a stem mastering session is a little more complex than preparing a stereo file for mastering.
If you’re curious about how to properly deliver your stems, and about some production aspects that make stem mastering unique, read on for more information.
If at any point you’re curious how your mix would sound mastered using analog equipment, upload your mix here, we’ll master it for you and send you a free mastered sample: https://www.sageaudio.com/register.php
A Stem is a Group of Instruments
Knowing what a stem is, is crucial to either accomplishing a stem mastering session or delivering your stems to another engineer.
A stem is a group of instruments that have been bounced to a stereo file. The group of instruments can be guitars, drums, auxiliary percussion, or any instrument group that can be processed in a similar way during stem mastering. These stems should include the temporal processing relative to their instrument group.

When exporting stems, it's important to group similar instruments together.
These stems should be consolidated. In other words, the bounce of each stem should start and stop in the same place, allowing the files to be arranged easily for playback and further processing.
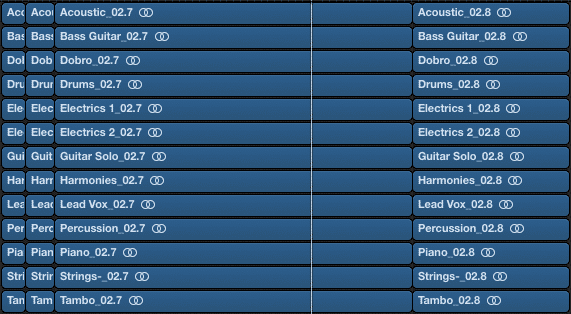
Notice that each stem starts and stops at the same point. This means the stems have been consolidated.
If the stems are not consolidated, it can be incredibly difficult to align them - especially if the engineer has never heard the song before.
A stem does not include any limiting, or truncation of the transients. Brick wall limiting is something that will decrease the dynamics of the stem and the overall master. The decision to use brick wall limiting should be left to the mastering engineer.
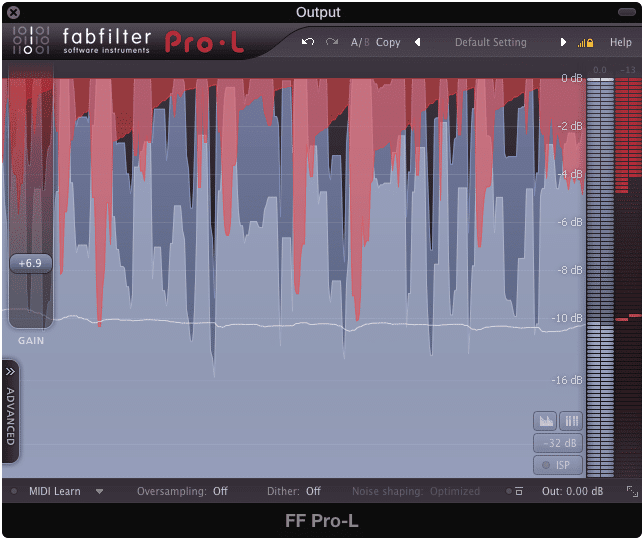
Definitely, do not use brick wall limiting when exporting a stem.
The stem should be bounced as loud as the group of instruments is in the mix. So there’s no need to adjust the instruments' volume prior to creating a stem. In fact, this can make things more difficult for a mastering engineer, as upholding the intentions of the mixing engineer is an important part of mastering. The only instance in which the volume should be adjusted is if clipping is occurring.

Ensure that the stem is not peaking before exporting.
Lastly, a stem should retain its original sampling rate and bit depth. If the original recordings are 96kHz. and 24 bits, they should be bounced or exported as such. Make sure to bounce out all stems at the same sampling rate and bit depth. Since these stems retain their original sampling rate and bit depth, dithering is not needed.
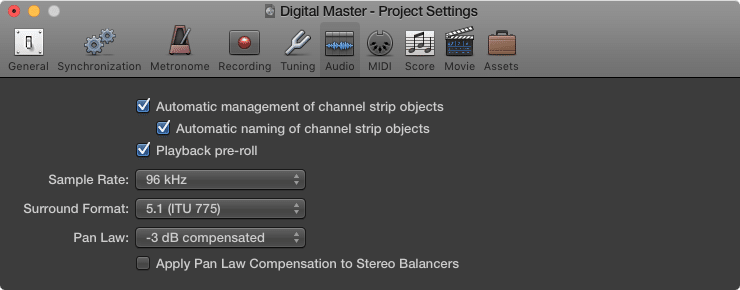
Ensure that all stems are of the same sampling rate and bit depth. Otherwise, they will not playback accurately.
So just to recap, a stem is a consolidated bounce of a group of instruments and their relative processing.It should not have limiting, nor should it be bounced louder than the original volume of the group of instruments - this means no normalization. Lastly, a stem retains its original sampling rate and bit depth.
Less commonly, a stem can also be a mono track or a single instrument. For example, if you wanted to give the mastering engineer the ability to process the snare separately from the rest of the drums, this is possible during a stem mastering session.

A stem can still be a mono signal.
Keep in mind that although mastering individual instruments is possible, most stem mastering engineers limit the number of tracks they will master during a stem mastering session. Check to see how many tracks are acceptable if you intend to have your song mastered using the stem mastering process.
If you’d like to know more about other types of mastering check out some other articles here:
Or
When you do bounce out your stem, simply solo all of the desired tracks. Solo the aux sends, and mute any send to that aux send, which isn’t routed from one of the instruments in your stem. Otherwise, another instrument will leak into your stem’s bounce.
Take off any limiting or processing on the master output. If you are set on keeping your master output’s effects, ensure that you using use the key input on that processing, to ensure that the plugins are being affected the same as they would when the entire mix is playing.
There is also the option of allowing the mastering engineer to determine what should happen on the master output.
Although Somewhat Similar, Stem Mastering is Not Mixing
Although both stem mastering and mixing sessions occur with a multitude of tracks, the type of processing that occurs is different amongst the two.
In a mixing session, temporal effects are used. This includes delay, reverb, and other time-based effects. Although these may be used sparingly in a stem mastering session, it is definitely rare.
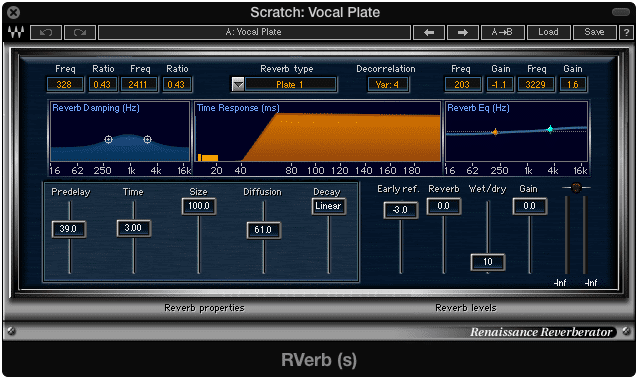
Temporal effects typically are not used during stem mastering.
Furthermore, mixing employs the use of automation, both for the tracks’ volume and the tracks’ effects. Again, although stem mastering may include automation on occasion, it rarely does.

Automation typically is not used during stem mastering.
Lastly, a mixing session suggests further post-production once the song has been bounced out. In a stem mastering session, there is no further post-production once the stem mastering session is complete.

When a stem master has been completed, it is ready for distribution.
With this in mind, a stem mastering engineer aims to create a finished product, ready for distribution - not something that will be processed further.
For more information about the mixing process, check out some blogs about different mixing techniques: https://www.sageaudio.com/blog/mixing
The Stem Mastering Process includes Dynamic, Imaging, Spectral, and Distortion based Processing
As stated before, the stem mastering process rarely dabbles in temporal or time-based processing.
It does, however, work with dynamics, imaging, spectral, and distortion based processing. Although distortion can be considered spectral processing, and imaging can be considered both spectral and sometimes temporal, let’s talk about them separately to understand each process better.
Dynamic
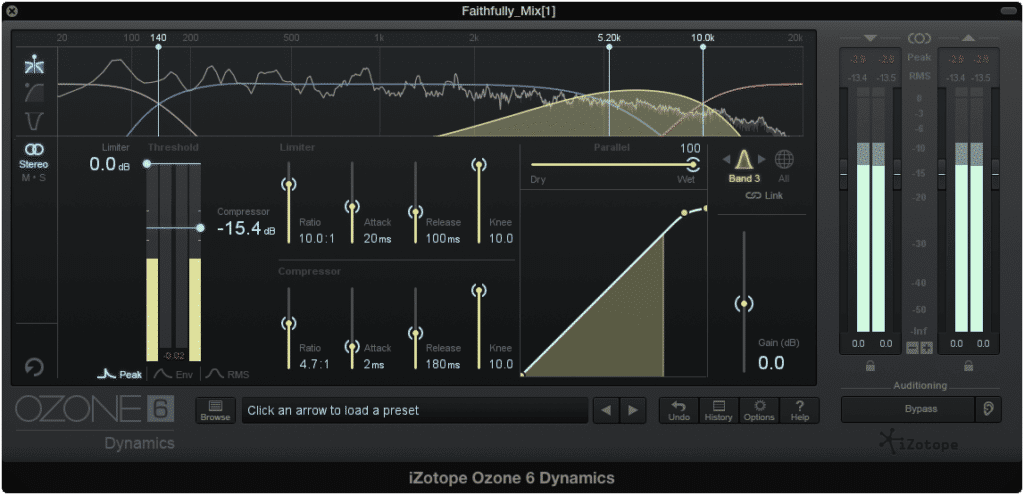
Compression is used during a stem mastering session.
Dynamics processing includes compression, expansion, and limiting. If a stem has been too compressed, a stem mastering engineer may use expansion to remedy that issue. If the stem is too dynamic, compression will be implemented to control these dynamics.
It is not uncommon for parallel compression to be used during stem mastering. Although the stem could be compressed directly, using parallel compression is often used to accentuate some of the more nuanced details of the instrument group.
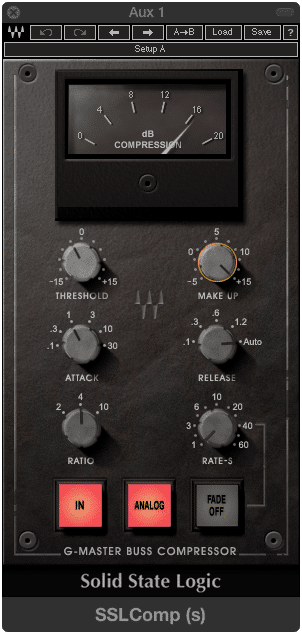
SSL Compressor is a good option for parallel compression.
Using heavy parallel compression, and then blending the compressed auxiliary track in with the original stem works similarly to a low-level compressor.
Limiting may also be used during a stem mastering session to accomplish a greater perceived loudness. This limiting is typically implemented on the master output as opposed to the individual stem.
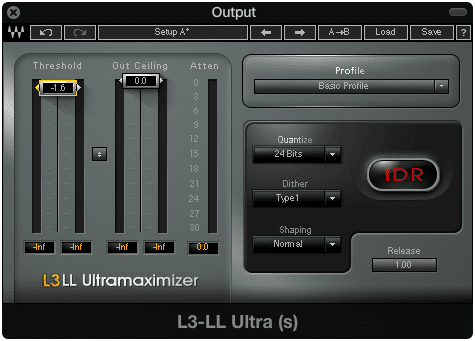
Limiting may still be used on the output during stem mastering.
Ideally, using proper gain staging and dynamic control eliminates the need for brick wall limiting, but it still may be needed or can be used for a certain effect on occasion.
If you’d like to know more about dynamics processing, there is plenty of information on the topic here: https://www.sageaudio.com/blog/mastering
Imaging
Typically the majority of imaging should have taken place during the mixing stage. With that said, there is always room for improvement.
One of the more common imaging techniques that is implemented during the stem mastering stage is making the low-end mono. This is accomplished by using mid-side processing and attenuating the side image up to roughly 130Hz with a high-pass filter.
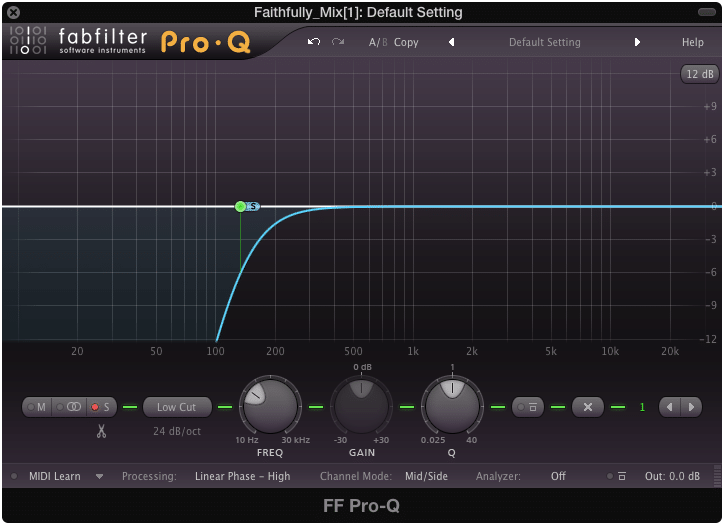
Cutting the side image up to 130Hz. is a technique used in both stereo and stem mastering.
Another form of imaging that can occur during the stem mastering process is image widening. This can be applied either to a particular stem or stems or to the entire session. For this process, a psychoacoustic imaging plugin can be used.
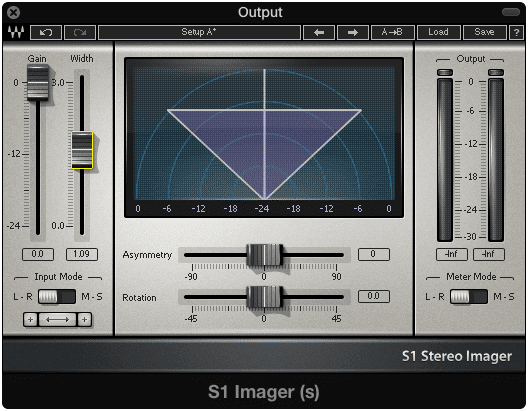
Image widening can be used on the output or on individual stems.
Ideally, imaging is used to create a master that can be played on multiple playback systems, without a noticeable difference in quality.
A great way to ensure this is by avoiding excessive widening techniques, as many playback systems don’t accommodate wide stereo images.
See some of the more common and affordable stereo imagers here: https://www.sageaudio.com/blog/mixing/top-5-affordable-stereo-imagers.php
Spectral
Spectral processing includes equalization. Like dynamics processing, equalization is a primary aspect of stem mastering.
In a stem mastering session, each stem can be equalized individually. The master output can also be equalized for the sake of processing all instrumentation simultaneously.
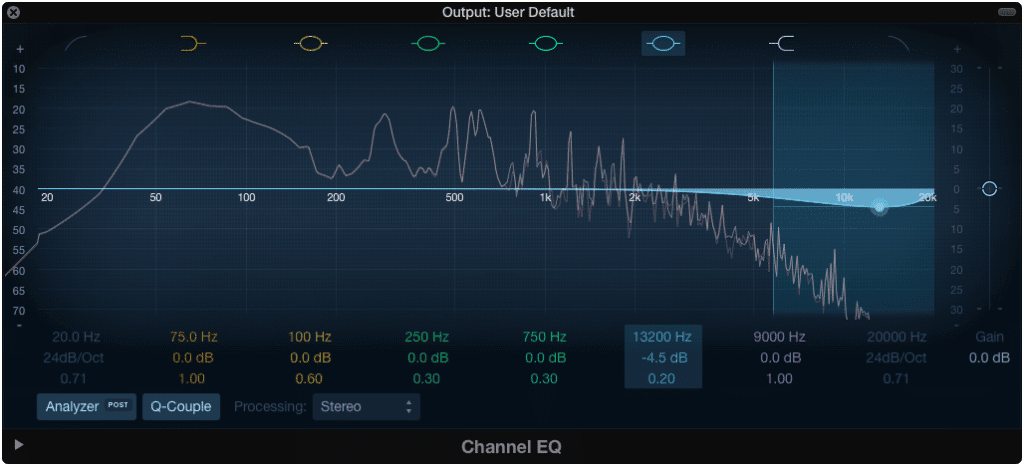
Individual stems can be equalized, as can the entire output.
In a typical stereo mastering session, more nuanced equalization will need to be used, since small changes result in a greater change in the overall tonality of the master.
In a stem mastering session, although equalization needs to be used carefully, greater changes in amplification can be implemented on an individual stem, without overhauling the entire tonality of the master.
Just like in a mixing or stereo mastering session, amplifying and attenuating certain frequencies is implemented to create an overall spectrally balanced output.
The primary difference to understand about equalization in a stem mastering setting is that equalizing stems results in a greater overall change than in a mixing session, and a smaller overall change than in a stereo mastering session.
See what analog equalizers are used in during stem mastering: https://www.sageaudio.com/blog/mastering/top-10-analog-equalizers-mixing-and-mastering.php
Distortion
Although we often associate distortion with the undesired effect of clipping, certain types of distortion are enjoyable and contribute to a pleasant listening experience.
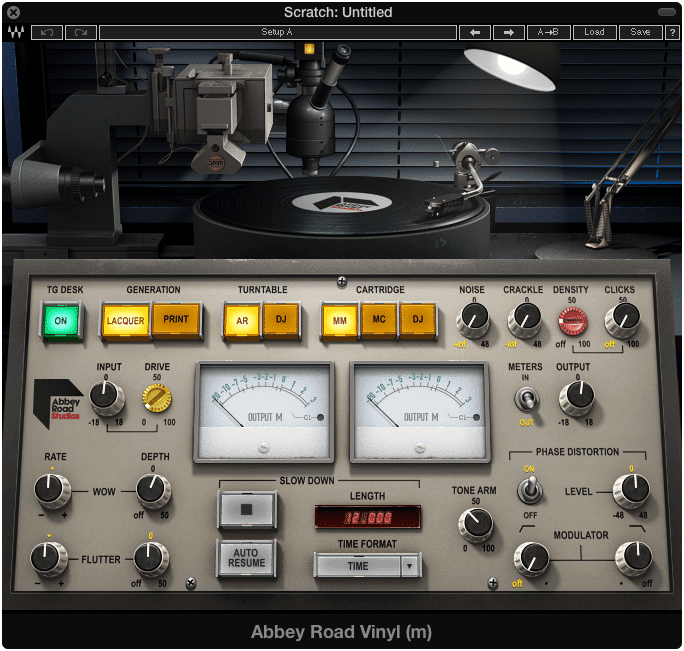
Any form of harmonic generation can be considered distortion.
Distortion in the form of harmonic generation can be implemented in many ways during a stem mastering session.
Saturation, from either analog hardware or software emulation, allows for gentle compression and harmonic generation.
Depending on the emulation or hardware used, these harmonics will sound different and result in a unique overall tonality.
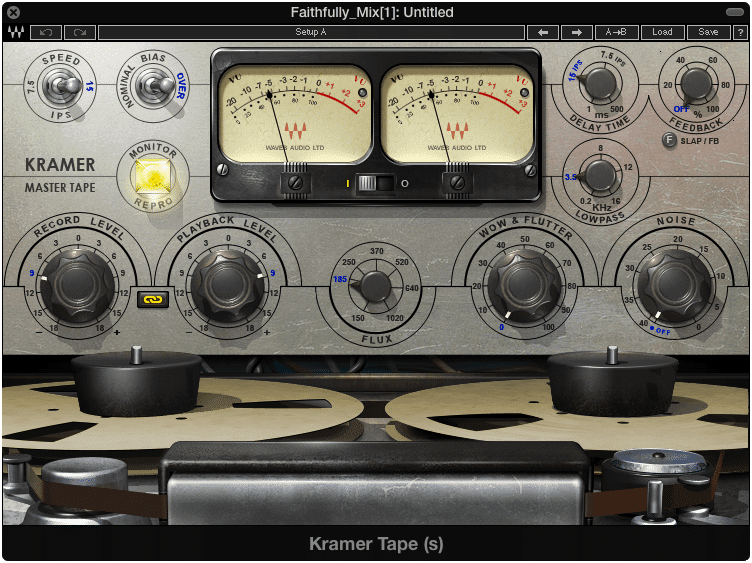
Different types of analog equipment generates differing harmonics.
A stem mastering engineer might slightly distort an independent stem, or perhaps distort a few stems collectively. He or she may also distort the output to create cohesion amongst all the stems in the session.
Whatever the case may be, using gentle harmonic generation or distortion is used in stem mastering sessions to create a fuller, more sonically complex master.
Other types of harmonic generation can be used, such as low order harmonic generate, or sub-harmonic generation. This may be used on bass or kick stems, to create a fuller more robust sound.
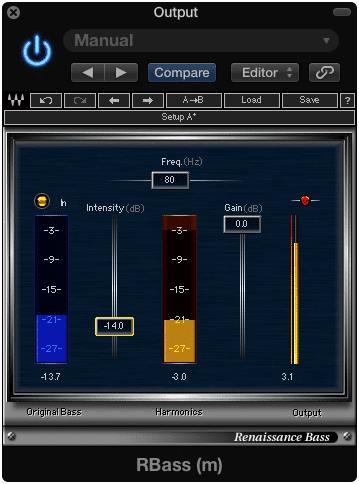
RBass generates low-order harmonic frequencies.
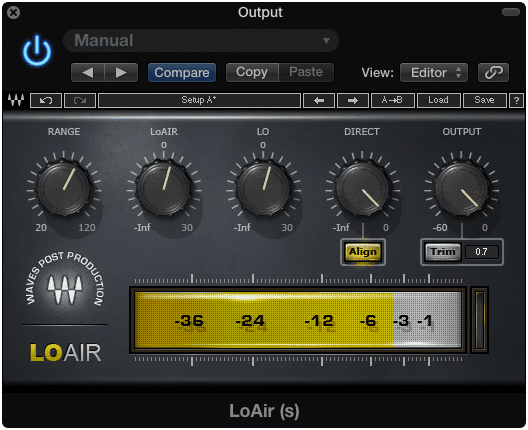
LoAir generates subharmonic frequencies.
Distortion is a complex topic - learn more about it here: https://www.sageaudio.com/blog/mixing/what-distortion-is-actually-doing-to-your-mix.php
Learn more about low-order and sub-harmonic generation: https://www.sageaudio.com/blog/mixing/how-to-create-an-epic-bass-with-sub-harmonics.php
There are Many Sonic Benefits to Stem Mastering
Stem mastering offers a mastering engineer more options. As a result, there is extra processing that can result between the mix and the final master.
Although stem mastering is not mixing, it can almost be considered a combination of mixing and mastering.
The combination of these two, typically separate forms of processing, allows for extra control on behalf of the mastering engineer. This extra control is really an opportunity for an engineer to fix some of the problems a mixing engineer may not have been able to hear during their mixing process.

Stem mastering allows for greater control during mastering.
Some of these problems may be technical, some may be preference based - regardless, allowing a mastering engineer extra control results in a more stringent mastering process, with which more issues can be addressed and remedied.
Typically, people report that a song mastered using a stem mastering process sounds more complex, has greater depth, clarity, and is overall more pleasing sonically.
The added ability to compress, expand, distort, equalize, and adjust individual instrument groups, often results in a more enjoyable master.
There are Many Practical Benefits to Stem Mastering
Stem mastering allows for added flexibility when exporting the final master.
This means that it’s easier to create masters without the vocals, or a particular stem. Because the processing occurs on the stem and on the output, these stems can be exported sounding very similar to how they do on the full master. The only real difference in their sound coming from masking or the lack thereof.
Having these fully processed stems, or multiple versions of the master can be incredibly helpful for many artists.
For example, say you had the opportunity to submit your master for movie or television usage.

Having multiple stems can be very using when submitting music for sync licensing.
If you had your fully processed stems via your stem mastering engineer, you could send these stems to the production company working on the movie or television show.
If multiple versions of the song are used, say only the drums on one part, and the entire song on another, these will be considered two separate licenses.
Of course, each licensing agreement is different, but these two separate licenses may result in additional payment for the artist and the producer.

If multiple versions of a song are used, this can result in more money from the production company.
Although requesting each stem for your mastering engineer, in addition to the fully mastered song may result in greater expenses, having this added flexibility can be incredibly beneficial when licensing your music.
Using Stem Mastering Does Not Mean the Mix Should Be Less Developed
Although stem mastering allows for more mistakes to be remedied than by a traditional stereo mastering session, the mix should still be as polished as possible.
As stated before, stem mastering allows for extra processing to occur after a mix than a stereo mastering session would.
Even though additional processing can occur, processing that wouldn’t be possible otherwise, it’s definitely still imperative that the mix is as close to completion as possible.
The reason being, that the main sonic benefit of stem mastering is having an extra step that makes improving upon a mix possible. If the mix’s stems are bounced without taking the necessary steps to create a polished mix, all while assuming that this can be accomplished during the stem mastering process, the potential for an improved sound is taken away.

The better the mix sounds, the better the stem master will be.
Simply put, ensure that the mix is executed as sonically pleasing, balanced, and close to completion as possible. Doing so ensures it will sound even better after stem mastering.
Conclusion
Stem mastering is a unique and somewhat rare form of processing. As a result, it is sometimes misunderstood, or misrepresented.
Although it has similar characteristics to mixing, and stereo mastering, it can best be understood as a combination of the two, that offers unique opportunities for a mastering engineer.
Stem mastering offers greater control than would be possible during a traditional stereo mastering session - including added dynamic, spectral, imaging and distortion techniques that can be implemented.
As the benefits of stem mastering are better understood (both the sonic and the practical) it’s likely for the process to find popularity amongst artists and engineers alike.
If you are considering hiring an engineer for stem mastering or attempting to do so yourself - be sure to keep in mind what you need, as well as some of the dos and don’ts.
Make sure that your stems are highly polished and ready for stem mastering. This means they are consolidated, they are accurate in terms of the volume of their relative instruments, they are comprised of similar instruments, they are the original sampling rate and bit depth, and they are not truncated using brick wall limiting.
With that said, it is crucial that you export them correctly prior to sending them to a mastering engineer or attempting to master them yourself.
If you are curious about how your mix would sound using stem mastering, try it here at Sage Audio.
If you’d like your mix mastered using analog equipment, send us your mix for a free mastered sample: https://www.sageaudio.com/register.php
Have You Ever Tried Stem Mastering?


